The night we canned black beans, we thought we’d try something new…split peas. At first I was skeptical, but I’m glad we did. It turned out as a delicious split peas soup base!
Turn the oven on 200° to get your jars hot. Start a pot of boiling water to add to jars and a pot of water to boil lids.
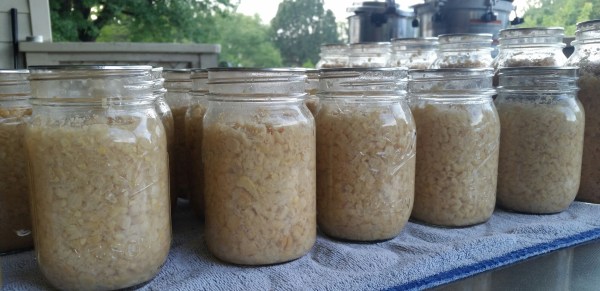
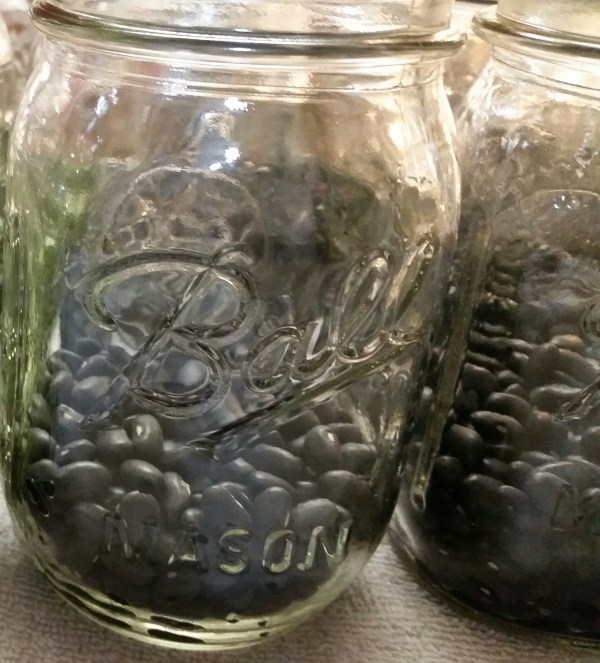
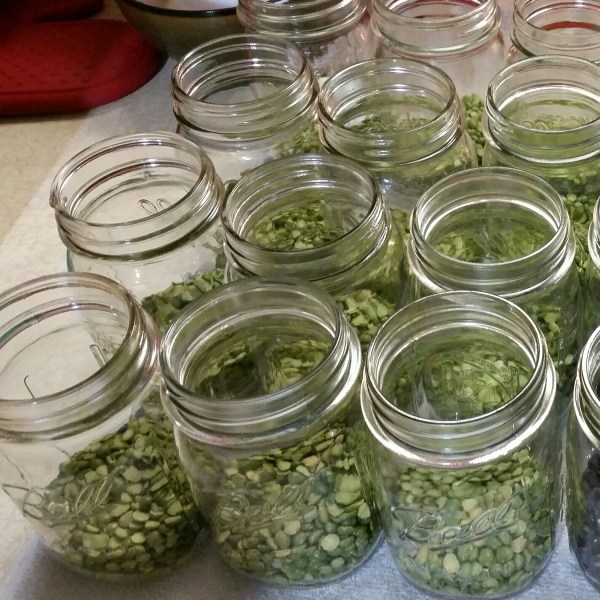
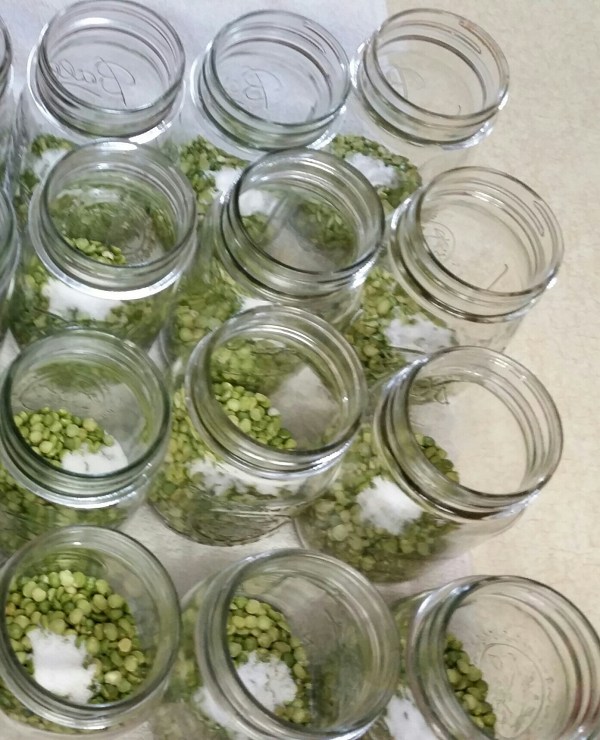
Measure a half cup of dry beans per pint jar.
Add one half teaspoon canning salt per jar.
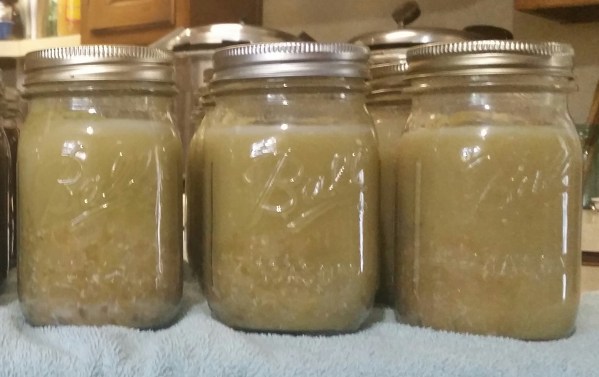
Fill with boiling water, leaving one inch head space. Wipe the rims with a sterile cloth, place hot lids and tighten down rings.
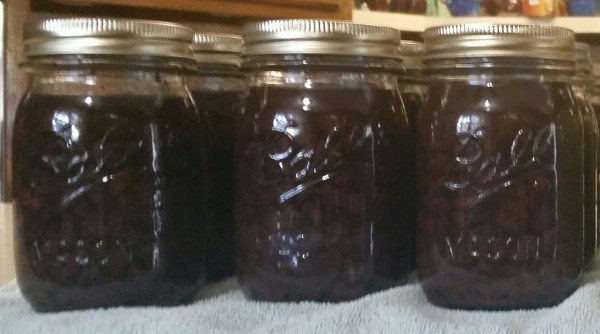
Place in pressure canner, put the lid on and wait for it to steam. Once it begins steaming, let it steam for 10 minutes before putting the weight on it. Then once the weight begins to jiggle, start the timer for 50 minutes.
We use 10 lbs of pressure based on our elevation. Your elevation will determine to weight of pressure that you use. Please refer to Ball guidelines for reference.
Pressure can for 50 minutes on 10 lbs of pressure.
When opened, add 1/2 cup of water, a few dashed of red wine vinegar and 2 slices of deli ham, enjoy!