Monthly Archives: June 2017

Canning Cabbage

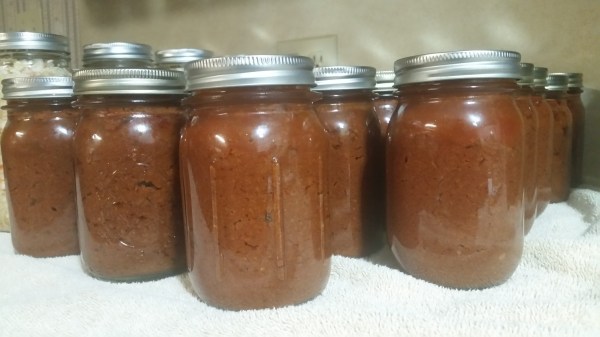
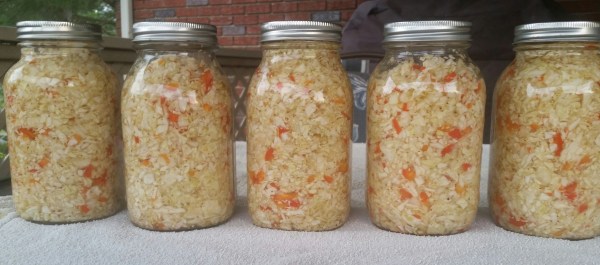
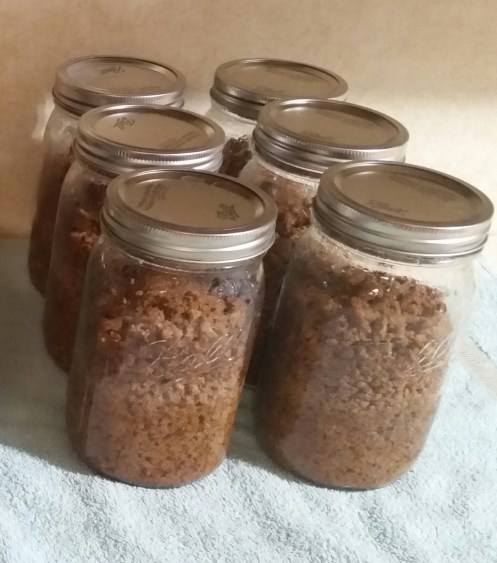
A few years ago my husband and I had a sauerkraut competition.  I made some my way, in an old fashioned crock and he made some his way by putting it in a jar and processing it.  We ended up with old fashioned sauerkraut like Grandma’s and some amazing canned cabbage!  This is the recipe that resulted in the amazingly good canned cabbage.

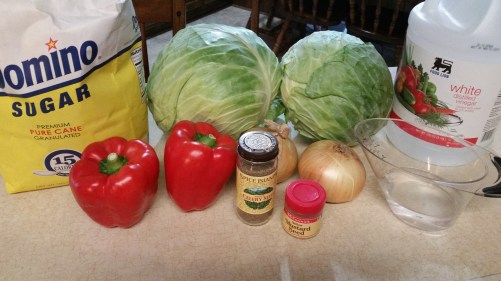
When you’re getting things together, keep in mind 1 head of cabbage averages 3 quarts of canned cabbage.

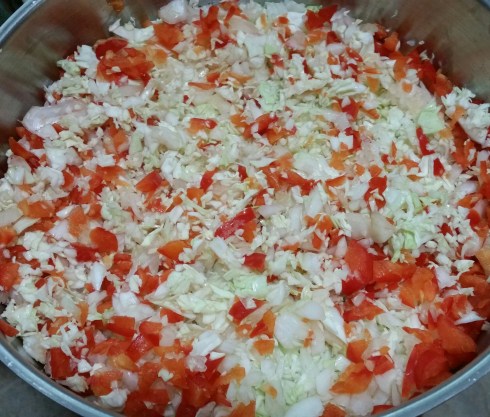
Shred the cabbage and pack the sterile jars full, up to the neck, leaving 1 inch of head space. Use a wooden spoon to reallly pack the jars.


Add to each jar 1 teaspoon sugar, 1 teaspoon canning salt, and 1 teaspoon of vinegar.

20170629_07044420170629_070940

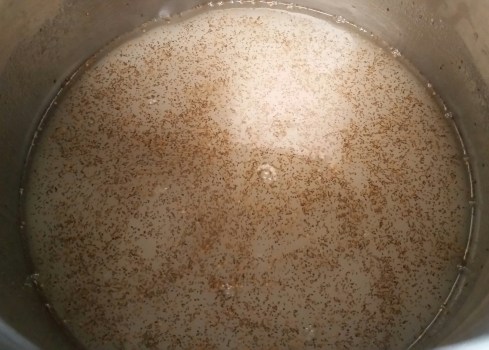
Fill each jar with boiling water up to the neck.  Place hot lids, rings and tighten.

20170629_072209

Waterbath 20 mins.  This stuff is great fried, added to soup or simply warmed up.  Enjoy!

20170629_103508-1

Mama Patty’s Bread ‘n Butter Pickles

Mama Patty is the Mama of a dear friend of mine.  She is one of the sweetest, God loving ladies you’ll ever meet.  When her daughter sent me this recipe it was cause for excitement!

Have you ever asked a friend for a recipe, only to realize that no matter how much you doctor it up, it won’t taste like her’s until you have the secret ingredient?!  And to complicate matters – the secret ingredient is homemade pickles….Mama Patty’s Homemade Bread ‘n Butter Pickles to be exact.  Now, I can say that I have the recipe for the secret ingredient to Angel’s A-MAZ-ING Potato Salad!  (Yes, that potato salad really is that good!)

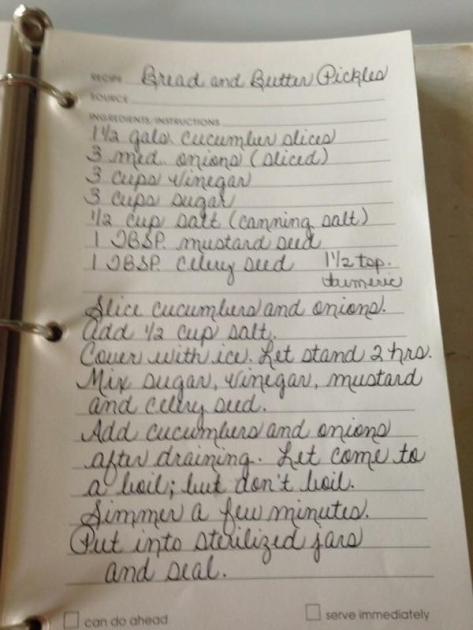
This recipe has been passed down for generations in their family and now I will share it with you.  Here’s the recipe as I received it – in Mama Patty’s handwriting:
IMG959676

  • 1 1/2 gallons of cucumbers, sliced (approximately 8 lbs of cukes)
  • 3 medium onions, sliced
  • 3 cups vinegar
  • 3 cups sugar
  • 1/2 cup canning salt
  • 1 tablespoon mustard seed
  • 1 tablespoon celery seed
  • 1 1/2 teaspoon turmeric

Wash the cucumbers thoroughly.  Slice cucumbers and onions, add 1/2 cup of salt, cover with ice and set aside for 2 hours.

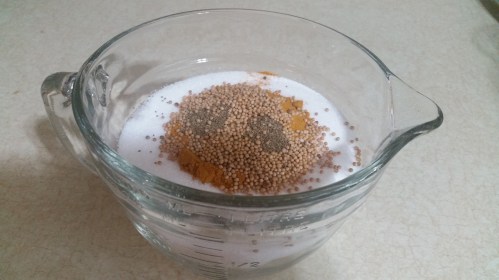
Mix sugar, turmeric, mustard and celery seeds and add to vinegar in a large stock pot. Heat until the sugar is dissolved.
20170626_124858

Drain cucumbers and onions, add to sugar/vinegar mixture.  Bring to a boil, but do not boil.  Reduce heat and simmer for a few minutes.
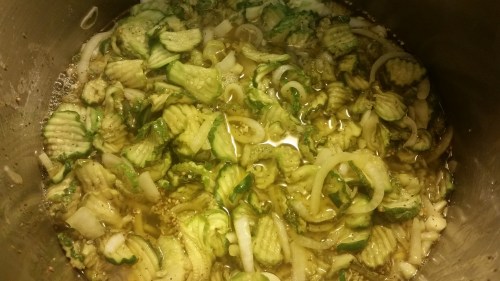
20170626_141153

Ladle the hot cucumbers and syrup into hot sterile jars, leaving 1/2 inch head space. Remove air bubbles.  Wipe rim with a sterile cloth, place the hot lid and ring, tighten.  At this point, our ancestors would set them aside and let them seal.  Today, many people water bath for 10 minutes.  It’s your preference.
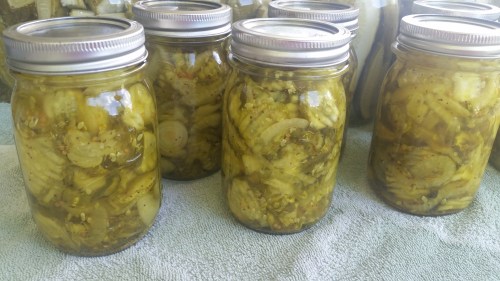
20170626_151314

Enjoy!  And the next time you make potato salad – use these pickles instead of store bought relish!  ~ You’ll thank me later 😉

Canning Pork Loin

When the local grocery store had pork loin on sale for $1.88 per pound, I snatched up four huge loins.  I used this as an opportunity to stock pile some pork in my basement grocery store.

Canning pork loin can be done one of two ways.  My sister uses the “Cold Pack Method” and I use the “Parboil Method”.  They both work, they both produce a nice product.  The biggest difference between the two is the Parboil Method takes a little longer to boil the meat before you pack it into the jars.  To me it’s worth the extra 10-15 minutes to keep the proteins in the meat and not stuck to the inside of the jars.  Canning meat can leave a messy jar clean up later down the road, but parboiling helps with that a little bit.  I still prefer to use wide mouth jars just for easier clean up.

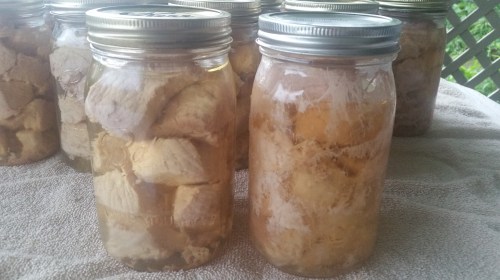
The jar on the left was Parboiled, the one on the right Cold Packed. See the difference in the jars??

20170623_070535

Trim as much fat as possible off of the meat and cut up the pork into chunks.

20170622_202320

Put the pork in a large stock pot with boiling water and parboil it until the scum floats to the top.  Skim the scum off.

20170622_204301

Once boiling, boil for 10 minutes.  Ladle the hot meat into hot, sterile jars using a slotted spoon.  Approximately, 1 pound will fit in a pint jar, 2 pounds per quart, so can it according to your family size.  I have growing boys, so we use a lot of quarts.  Add 1 teaspoon of canning salt to each quart jar. Pour hot stock from parboiling or boiling water over the meat leaving 1 inch of head space.


Remove all the air bubbles using a plastic knife to keep from damaging the jars.

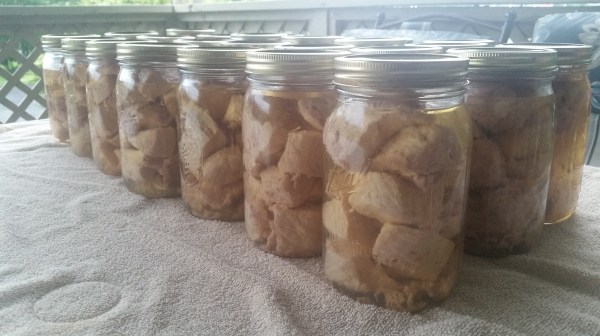
Pressure can pints 75 minutes and quarts 90 minutes on 10 lbs of pressure.  (Adjust the pounds of pressure to your elevation.)

20170623_070430

Now it’s time to enjoy!  Pork tenderloin for dinner anyone?  How about carnitas….or better yet – pulled pork barbecue!  The options are endless…..

Watermelon Rind Pickles

My grandmother used to make these and I’ve hunted and hunted for a recipe to come close to what she made.  I found several similar recipes on Pinterest and in the Ball canning book.  We will give it a try and doctor as needed the next go around.  This is a 2 day process and a lot of work for a little yield; but the smell of it cooking….wow!

The rinds will need to be cut and let soak over night with the salt and water the day before you process them.  The thicker the rinds, the better.

  • 4 qts of 1 inch cubed watermelon rinds, mostly green, some pink
  • 1 cup Canning Salt
  • 2 gallons of water, divided
  • 3 sticks of cinnamon
  • 1 tablespoon of whole cloves
  • 1 tablespoon of whole allspice
  • 1/4 teaspoon of mustard seed
  • 7 cups of sugar
  • 1 thinly sliced medium lemon
  • 2 cups vinegar

Cover watermelon rinds with salt and 1 gallon of water, stirring to dissolve the salt and let soak 12 hrs or over night.   Drain; rinse.

Cover rind with 1 gallon of water in a large stockpot.  Cook until tender.   Drain; set aside. Tie spices in a spice bag.  When you can’t find a spice bag – make your own – coffee filters and a string work nicely.

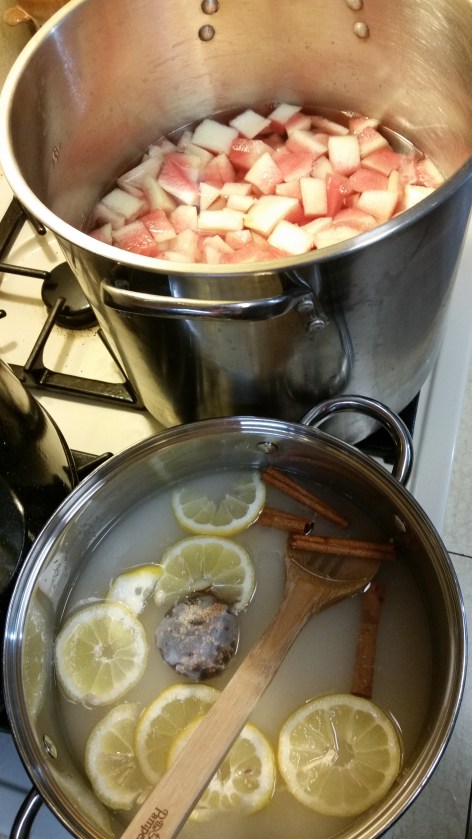
Combine spice bag, sugar, lemon slices and vinegar in a large pot, bring to a boil.  Reduce heat and simmer 10 minutes.

20170612_113707

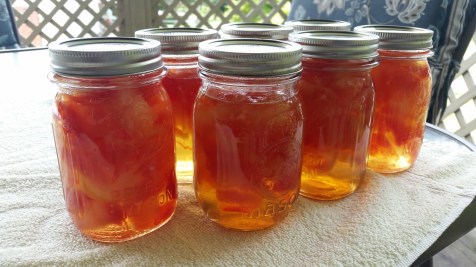
Combine sugar syrup mixture and rind, simmer until rind is transparent.  Don’t over cook, you’ll end up with a lot of liquid and a little bit of rinds, more of a preserve consistency than pickles.  Remove spice bag.  Pack hot rinds and liquid into hot jars leaving 1/2 in head space.  Remove air bubbles.  Adjust 2 piece ring and lid.  Water bath for 10 minutes.

20170612_133103

The watermelons that I used yielded 6 quarts of watermelon rinds so I adjusted my recipe to accommodate and it yielded 7 pints.  .

Canning Hotdog Chili

It never fails, this is one of those things that I never have on hand when I need it.  Not to mention, I’m always a little leery of what’s in processed store bought chili so I thought we’d try our hand at canning our own.  Needless to say, my boys loved it and wanted to help jar this up – so they could scrap the pot!  This is great on a hotdog, by itself or you can add some beans and have chili beans!

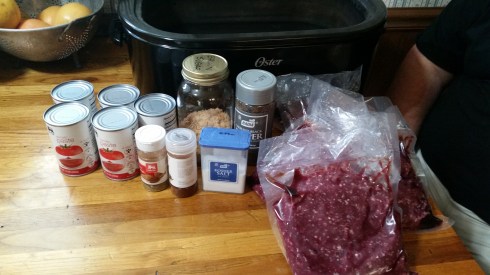
20170612_125023

Here’s the ingredients per 1 pound of ground beef.

  • 1 lb of ground beef
  • 3 1/2 cups of water
  • 2 – 10 oz cans of tomato paste
  • 1 lg onion finely chopped
  • 2 T chili powder
  • 1/2 teaspoon of cumin
  • 1 teaspoon of brown sugar
  • 1 teaspoon of garlic salt
  • 1 teaspoon of salt
  • 1 teaspoon of pepper

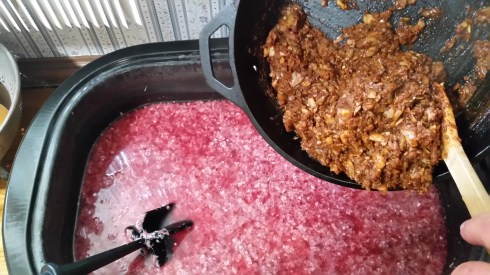
Do not brown the meat, if you do you’ll end up with clumpy, thick chili.  The trick to the smooth chili texture is to mix the thawed burger with hot water until it’s broken down and fine. We sauteed the onions, added the spices to the onions and then added that to the meat and water.

20170612_125259

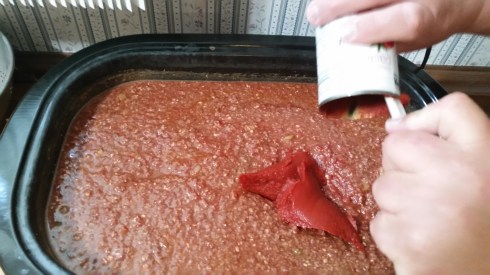
Mix well and then add the tomato paste, 1 can at a time, mixing well after each can.

20170612_130005

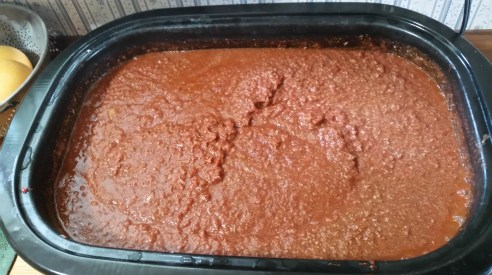
Simmer 4-6 hours, stirring frequently or you can cook it on low over night.  After it’s cooked thoroughly, you may sample and adjust the spices as needed.

20170612_133221

This roaster held 5 times this recipe and yielded 23 pints and LOTS of sampling.  So if you do 1 pound it will fit in a large crockpot and you’ll average 5 pints.  Scoop the chili sauce into hot, sterile jars, wipe the rims very well and remove air bubbles.  Adjust the 2 piece lid/ring and tighten.  Pressure can at 10 pounds of pressure for 75 minutes for pints and 90 minutes for quarts.  Processing will thicken the chili, so once opened add water if desired.

20170612_213243


Canning Cole Slaw

I know, “canning” and “cole slaw” don’t go together.  But anything that saves me time and money in the long run is worth a shot!  One thing about it – I’m not afraid to experiment when it comes to canning, especially if I have most of the ingredients on hand or it’s cheap to make.  It never fails my boys will grab a pack of hotdogs and out the door we go to the cabin.  I wanted to add something to our shelf stable pantry at the cabin for those occasions; that’s what sparked the interest in canning cole slaw and hot dog chili.  You’ll read about the chili in another post.  This recipe is simple.  Chop, shred, boil, mix and jar up, pretty much it’s that easy.

What’s pictured below yielded 5 quarts.

20170612_151214

  • 2 heads of Cabbage, shredded
  • 2 Red Peppers, diced
  • 2 large Carrots, shredded (if desired)
  • 2 medium Onions, diced
  • 2 teaspoons Salt

Mix the onions, peppers and cabbage together, cover with the salt and let sit for at least 1 hour.

20170612_172645-1

Mix the syrup, heat until the sugar is dissolved and set it aside.

  • 4 cups of Sugar
  • 2 teaspoons Mustard Seed
  • 2 teaspoons Celery Seed
  • 2 cups of Vinegar
  • 1/2 cup of Water

20170612_151500-1

Once the syrup is dissolved, drain the cabbage mixture, rinse if desired and mix the syrup and cabbage together.  Put the mixture in hot, sterile jars, wipe the rims with a sterile cloth, tighten the 2 piece ring/lid.

Water bath for 10 minutes.

20170612_194251-1

You can eat this straight from the jar and serve as a bbq vinegar based slaw.  Prefer a mayonnaise based slaw – no problem – drain (rinse if you prefer) and add mayonnaise! Enjoy!

Canning Ground Beef or Venison

When I say I’m canning ground meat, people look at me like I’m crazy….why would I want to can it when it’s “just fine” in the freezer.

Here’s a couple of my reasons:

  1. To free up freezer space
  2. To increase the longevity of the meat. Canned meat lasts years longer than frozen meat
  3. A little work done up front saves a lot of time in the long run
  4. To prevent my meat from ruining in the event of a power outage

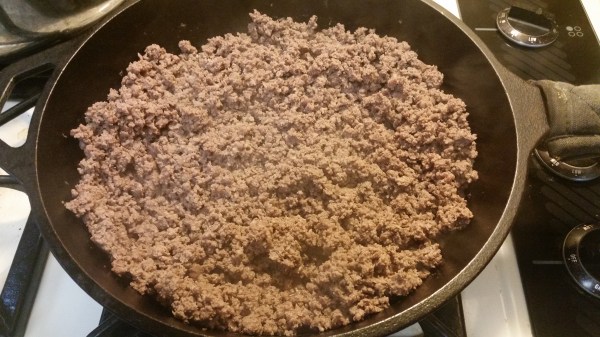
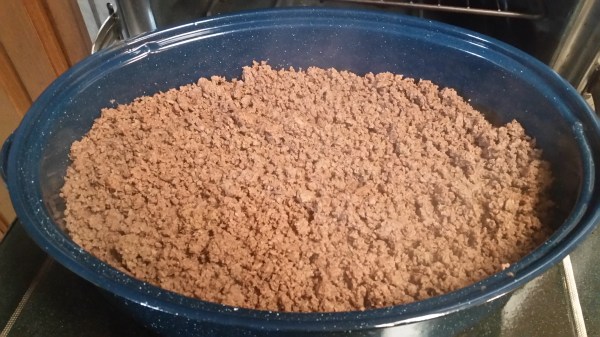
Keep in mind, 2 lbs per quart jar, 1 lb per pint.  When I can mine, I like to do at least a canner full, 6 or 7 quarts.  As I’m browning meat, I get a roasting pan ready and store the meat in the oven on warm until it’s all browned.

20170605_160703


20170605_164000

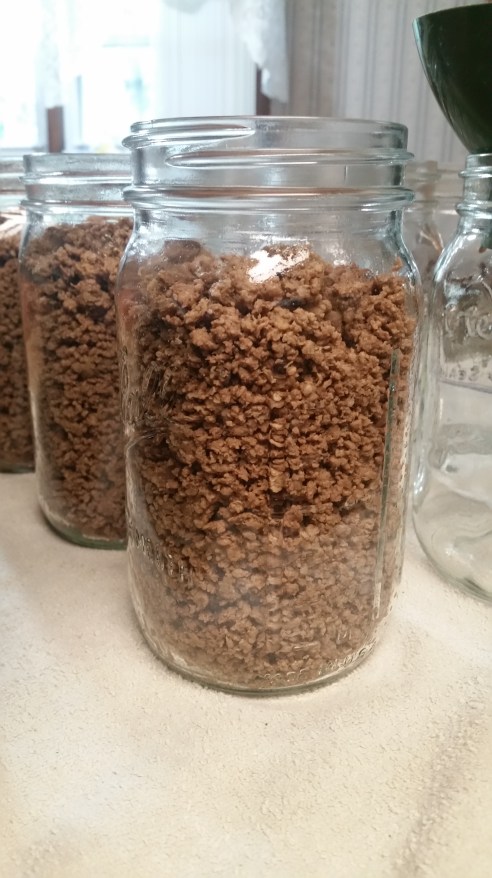
When canning dry meat, I make sure all the jars are boiled thoroughly.

20170605_162953

Fill the jars leaving 1 inch head space.  The meat will draw up during processing.  We are canning this dry, so no liquid will be added.

20170605_184549

Pressure can for 90 mins on 10 lbs of pressure.

20170605_215246-1

Now you’ve just saved yourself a lot of time in thawing and cooking ground meat for tacos, spaghetti, ground steak (it’s a Surry County thing) along with many more possibilities.

Pico de Gallo

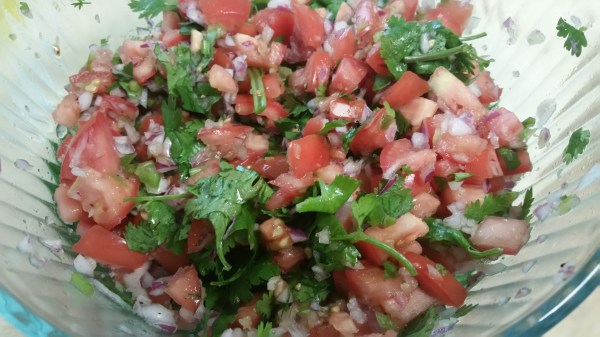
I’m a fan of any type of Mexican food so when we decided to host a get together for our Sunday School class it was only fitting that we have a Taco Bar!

Pico de Gallo is a MUST!  Not only is it good – but it’s good for you!

20170520_144527

  • 1/2 purple onion, diced
  • 6 roma tomatoes, diced
  • 3 medium garlic cloves, minced
  • 1 bunch cilantro, chopped
  • 1 small jalapeño, diced
  • juice of 1 lime
  • sea salt & pepper to taste

Dice the tomatoes and onion. Add to a medium bowl.  FINELY dice the jalapeño removing any seeds to make it more kid friendly.  Add to the tomato/onion mixture.  Mince the garlic and roughly chop the cilantro to add to the bowl.   Juice the lime over the bowl, add salt and pepper to the desire taste. Refrigerate at least 1 hr before serving.  ENJOY!

PS…stay tuned, I will figure out a way to can this recipe this summer!

20170520_162413