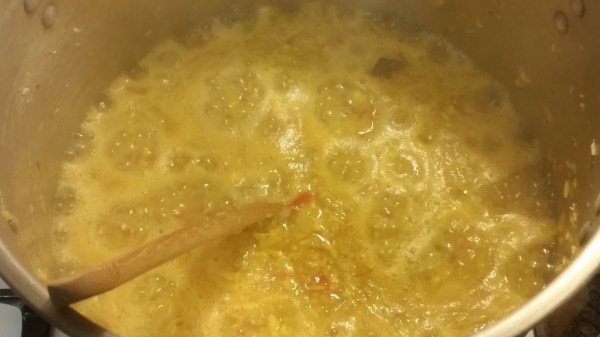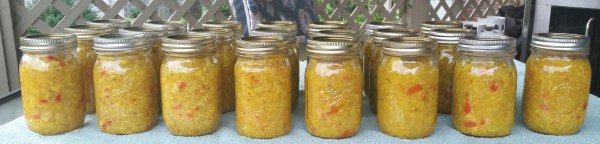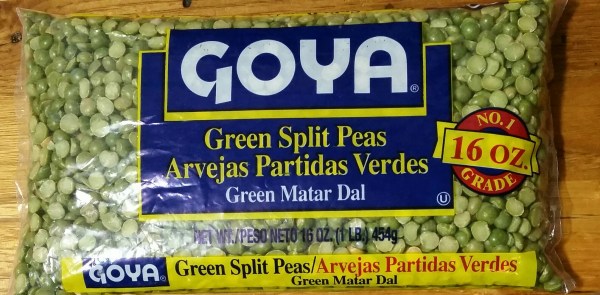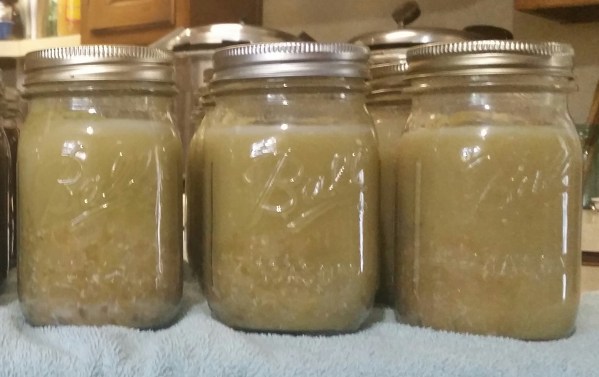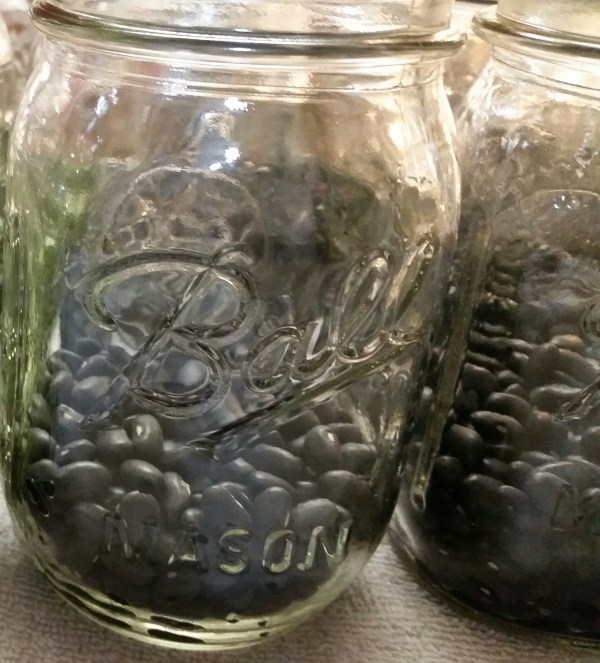
My goal this year is to buy as few canned goods as possible from the grocery store because I like knowing what I’m feeding my family. You’ll notice that I can lots of different beans because beans are a common thing at my house. As I started searching through my pantry, looking for things that I normally buy that I could replace with things more wholesome, it was safe to say that Green Peas should be at the top of the list.
Turn the oven on 200° to get your jars hot. Start a pot of boiling water to add to jars and a pot of water to boil lids. Rinse peas really well.

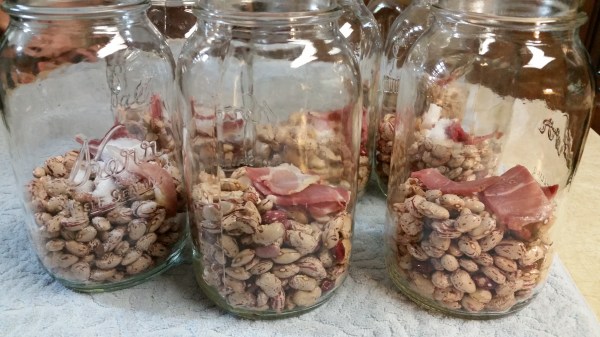
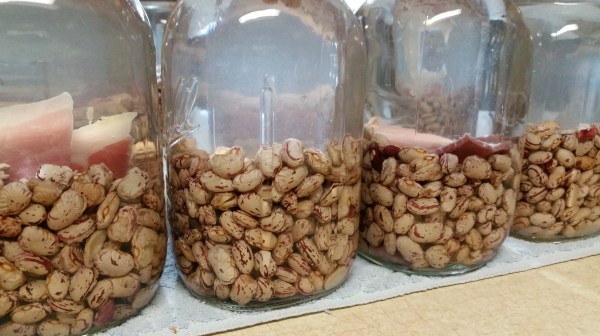
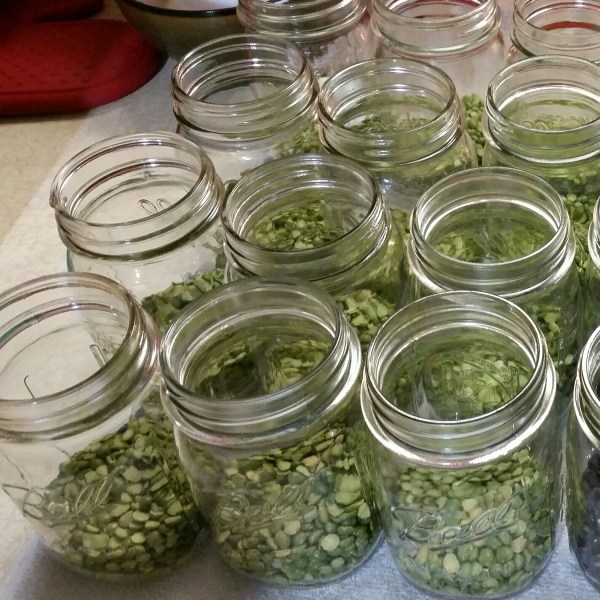
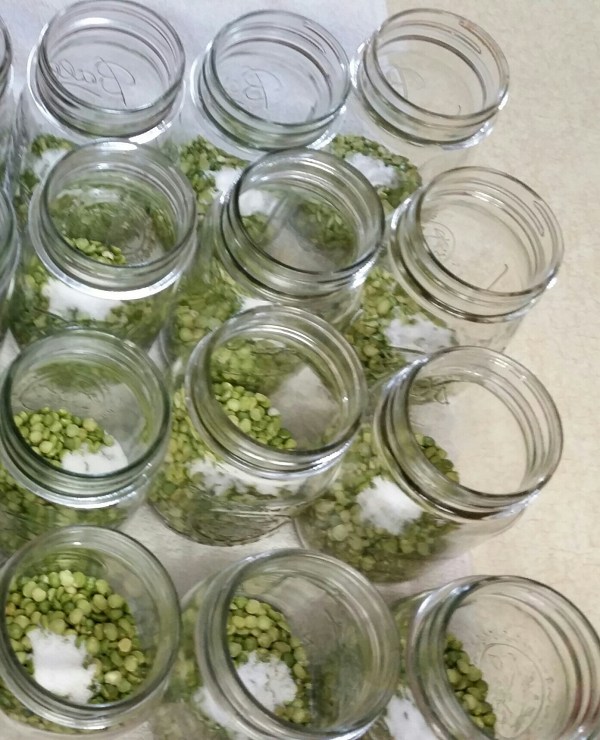
Measure a half cup of dry beans per pint jar.
Add one half teaspoon canning salt per jar.

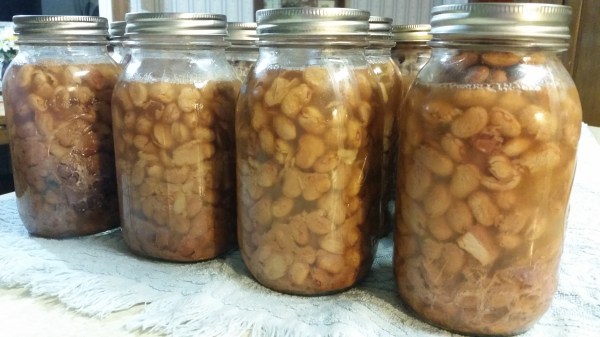
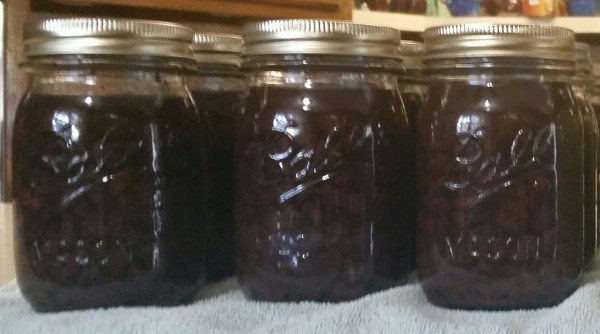
Fill with boiling water, leaving one inch head space. Wipe the rims with a sterile cloth, place hot lids and tighten down rings.

Place in pressure canner, put the lid on and wait for it to steam. Once it begins steaming, let it steam for 10 minutes before putting the weight on it. Then once the weight begins to jiggle, start the timer for 75 minutes.
We use 10 lbs of pressure based on our elevation. Your elevation will determine to weight of pressure that you use. Please refer to Ball guidelines for reference.
There’s a local produce stand that I like to buy my dry beans from. If you’re local, check out B&B Produce on 52, they have a large variety of dry beans!