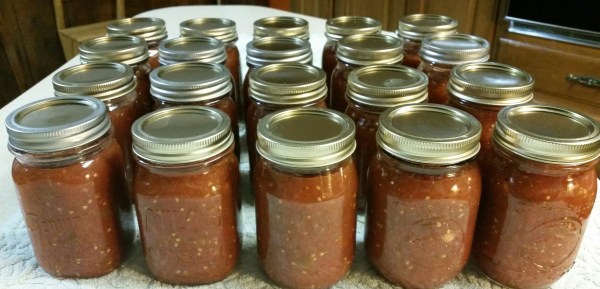
When I discovered that I could jar up and preserve my favorite salsa recipe, you would have thought that I won the lottery! By far this is my favorite salsa, it reminds you of that salsa most Mexican restaurants serve with the chip appetizer. I love the Pioneer Woman and alot of her recipes, if you haven’t checked out her website, take a minute to do so. www.thepioneerwoman.com
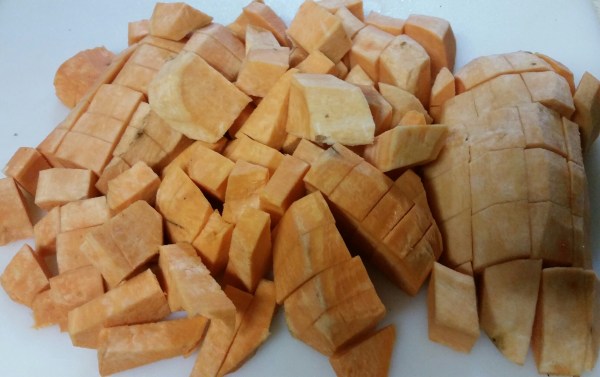
Since it’s tomato season I decided to use fresh tomatoes instead of the 28 oz can of tomatoes and two 10 oz cans of Rotel with chiles. I did pick up some green chiles in the Mexican section of the grocery store to add to my recipe to replace the chiles in the Rotel. This recipe took some math. When I can, I can BIG. For example, if I’m making salsa, I want to do it one time and move on to the next project. So when I made this, I made 6 times the original recipe. And since I was substituting fresh tomatoes for the canned tomatoes I had to calculate ounces into pounds.
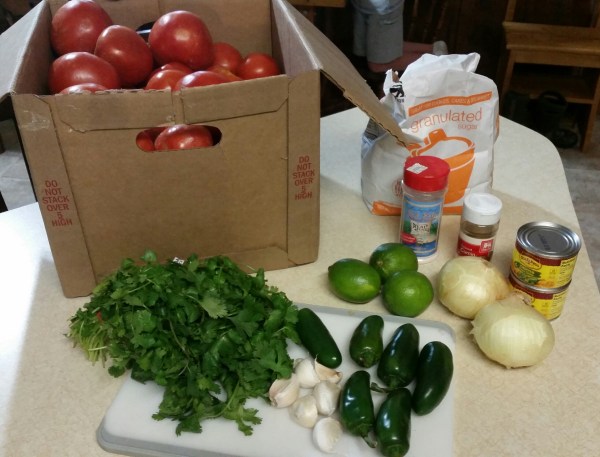
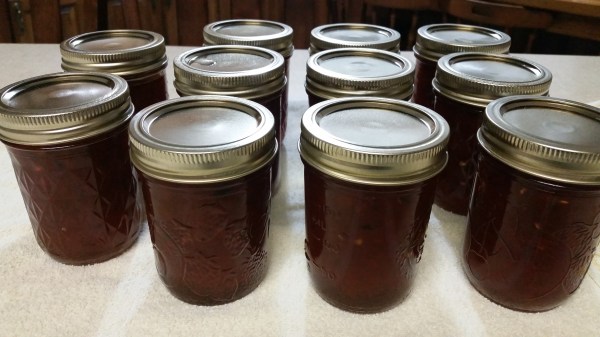
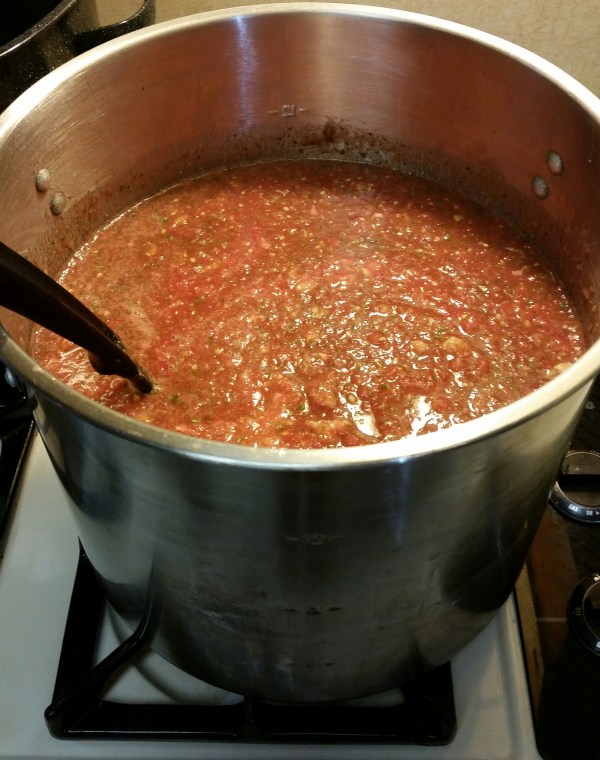
Keep in mind, this picture represents 6 times the recipe listed below. That’s almost one full bucket of canning tomatoes in that box.
Here’s the original recipe:
- 28 oz can tomatoes
- 2 – 10 oz cans of Rotel with green chiles
(If using fresh tomatoes, use 3 lbs of tomatoes and 1 tablespoon of green chiles to replace the 3 cans noted above)
- 1/4 cup diced onions
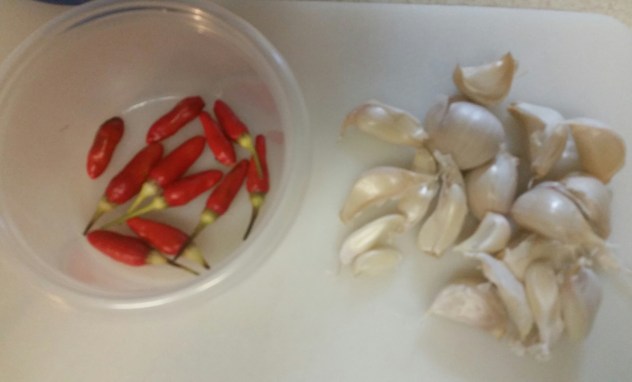
- 1 clove of garlic, minced
- 1 jalapeño, chopped, seeds removed
- 1/4 teaspoon sugar
- 1/4 teaspoon salt
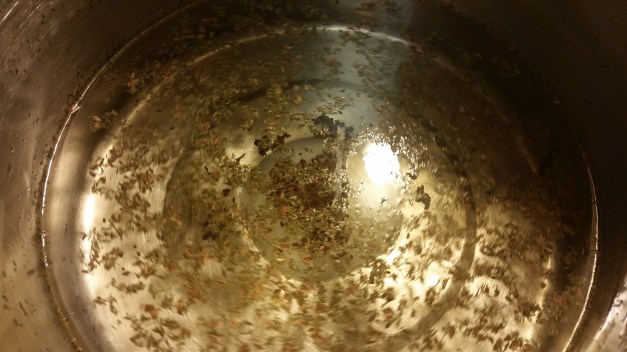
- 1/4 teaspoon cumin
- 1/2 cup cilantro
- Juice from 1/2 of a lime
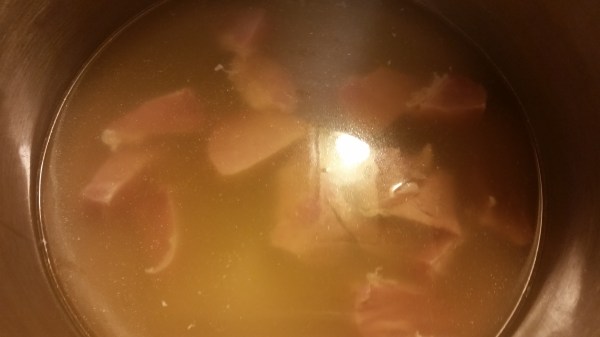
Wash the tomatoes and blanch them to remove the peels quickly.
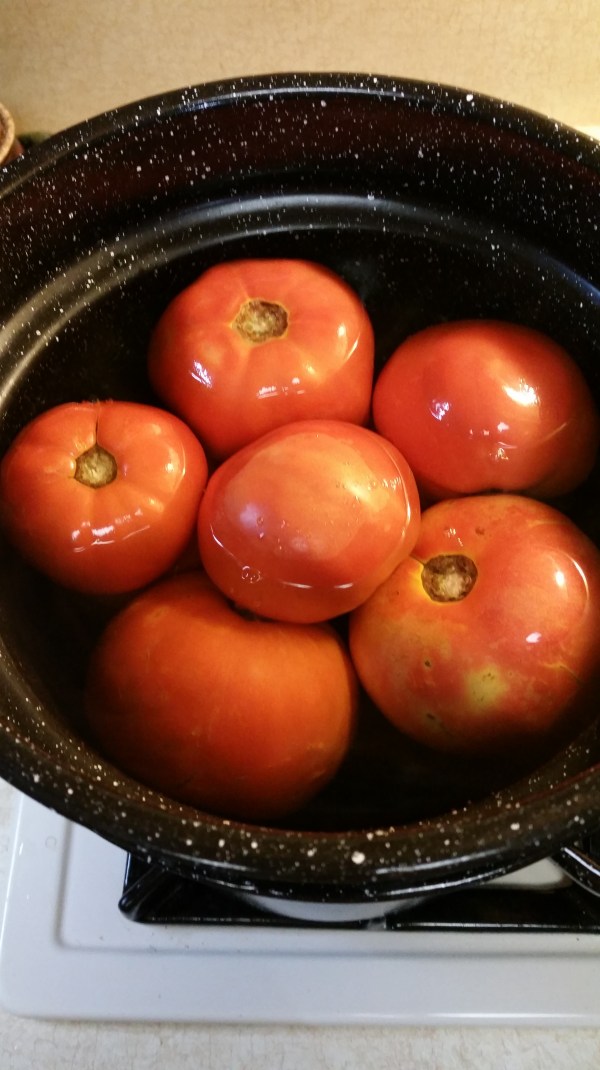
Simply bring that water to a boil, drop the tomatoes in, as the peelings begin to split, pull them out and drop them in ice water. The peelings will slip right off and little effort will be needed to cut the cores out. Once peeled and cored, I add my tomatoes to a blender along with the other ingredients and pulse until I get the consistency that I prefer.
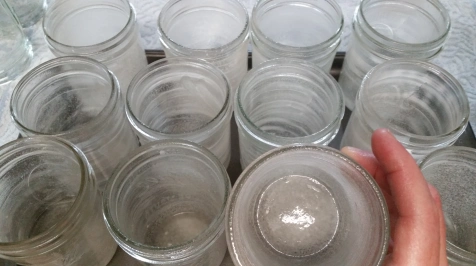
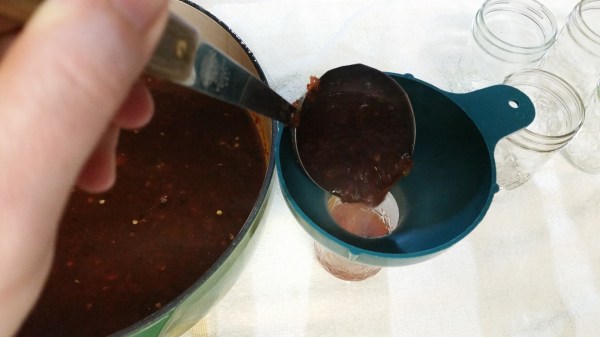
While your blanching tomatoes, put jars in the oven on 250°, jars need to be hot for processing. And put on a water bath canner 1/2 full of water to begin boiling so it’s ready for processing once the salsa is jared up.
***Note – when I make such a large quantity, like I did today, I add all of the spices to the stock pot and I blend all my peppers, onions, cilantro, chiles and juices with part of the tomatoes and add it to the stock pot. I then add the sugar, salt, cumin, etc to the stock pot. I stir every time I add more tomatoes. I don’t make the recipe 6 times, I lose track of what I’ve added to the blender. This way just works better for me.
Once all of the tomatoes are added to the stock pot, stir, stir, stir….sample it and add more spices per your liking. Once the recipe is perfected, bring it to a boil and boil for 5 minutes.
While the salsa is boiling, I put a pot of water on to boil my lids. Once the salsa has boiled, lids are ready and jars are hot, you’re ready to put the salsa in jars and process. Jar the salsa up in pint jars, leaving 1/2 inch head space. Wipe the rims with a sterile cloth, add lids and rings, tighten and waterbath for 15 minutes.